Fabric Printing, Day 5
- Christianne Myers
- Apr 20, 2019
- 3 min read

What a week! Overall, I printed 15 yards of fabric in five days. It was helpful to have the BioArt as a source of inspiration to anchor some of my decisions, but I also just made some stuff up as well. While the quilters in the group were very happy to have one yard pieces, I kept stumbling on, "What was I going to do with all of this?" Some of it will remain teaching samples, but on Friday, I decided to print two one-yard pieces with the same pattern so I could at least make a summer skirt.

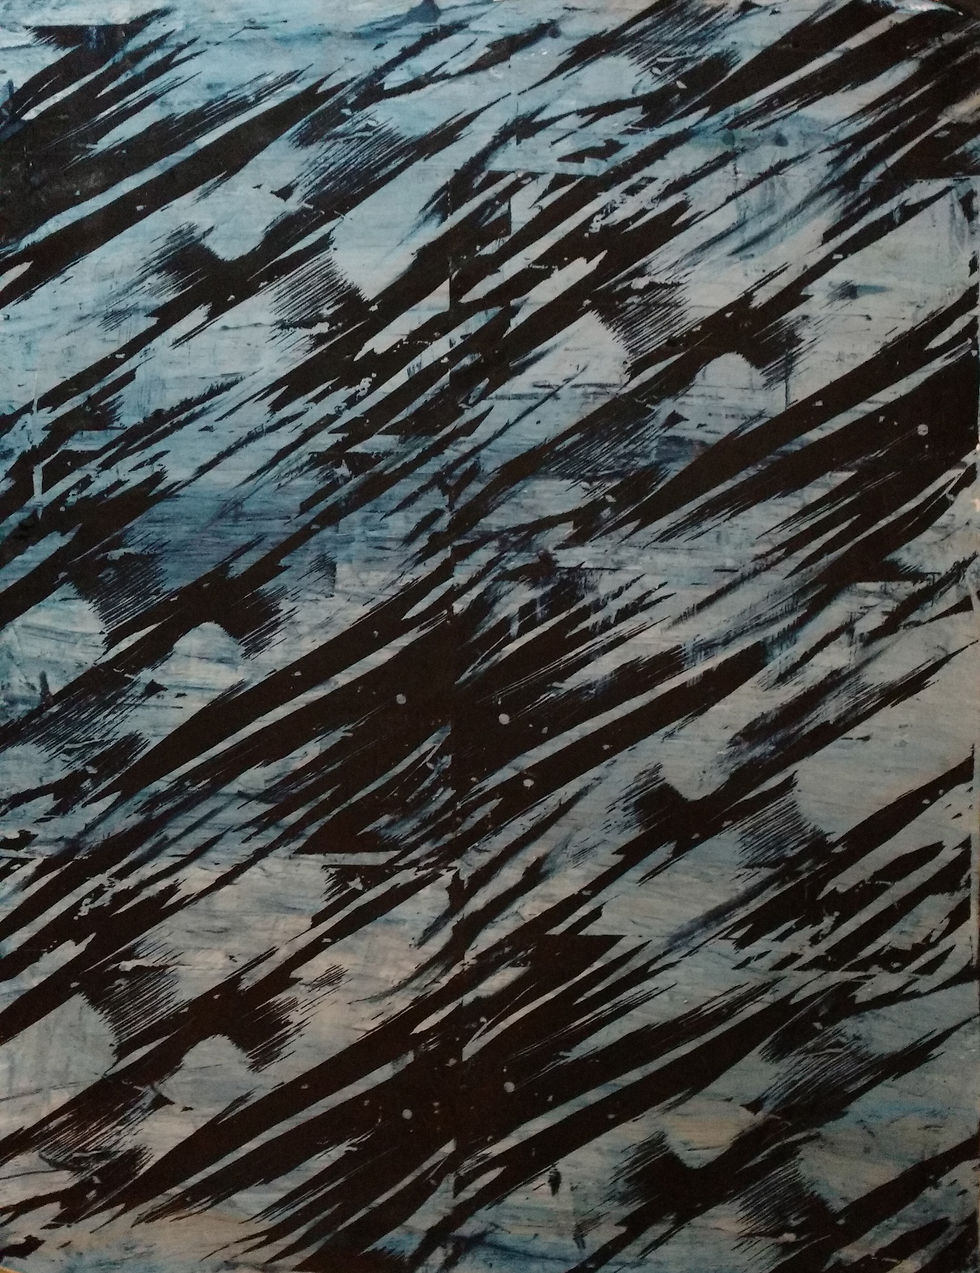
This fabric was made with a silk screen, six repeats to a yard. I prepared the screen with a soy wax resist, dry brushing the wax and breaking up the hard rectangular edges a bit. I screened on a dark blue, with a random streak of turquoise that will hopefully be revealed once the pieces are rinsed out. I then dry brushed in a bit of the dark dye connecting some of the edges and hard breaks. Once the screen printing was completed and dry, I scraped light blue over the whole thing. It's the same color as the print with a touch more turquoise and a lot of print paste to dilute it.

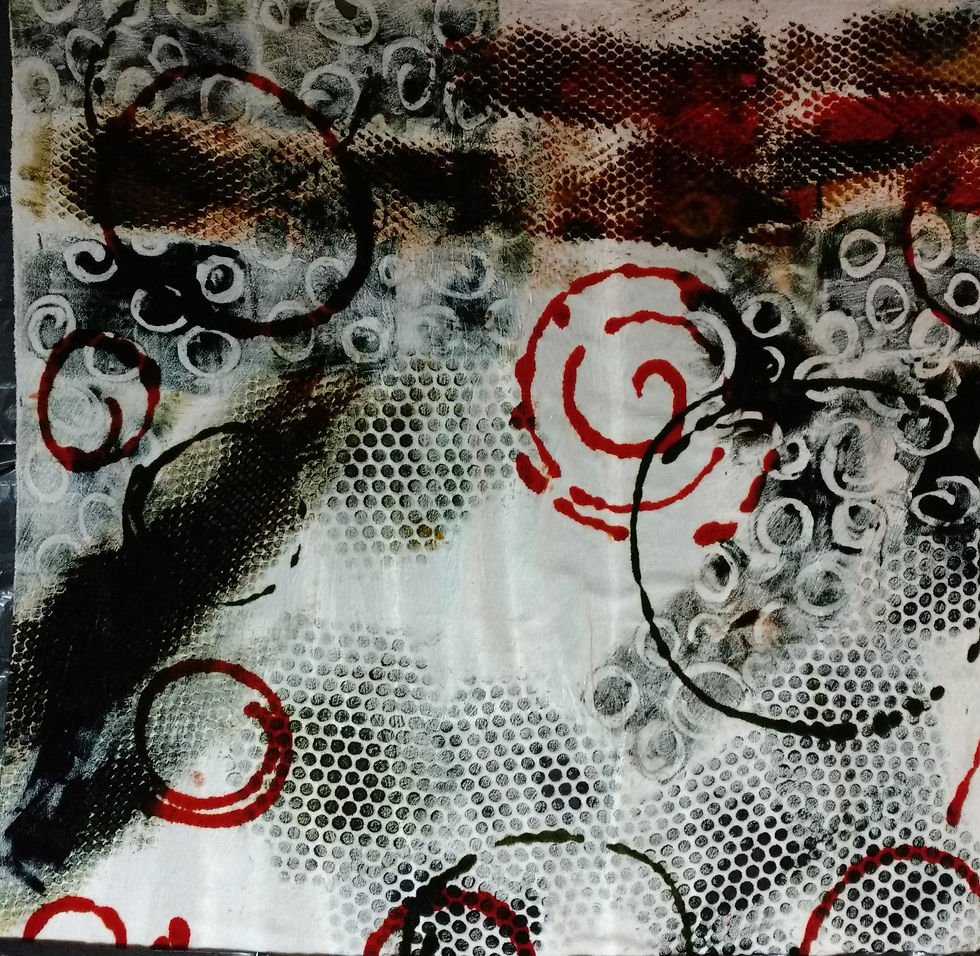
In addition to printing on 12 yards of cotton, I also brought the linen gauze, a silk organza, and a rayon backed silk velvet. The silk velvet is a work in progress. It became quite clear it does not like to be be scraped, at all. The scraper did work well over the metal stove grate and the honeycomb plastic fencing, but truly I got the best print by mashing the dye into the pile with my fingers. I also had fun with the squeeze bottle, drawing circles by moving my whole arm. The dye in the squeeze bottle needs to be diluted with water first, before putting it in the bottle, so it flows easily. This fabric also took small mono-prints quite well. I finger painted (erased) the circles onto small pieces of craft foam and then flipped the foam over and pressed it onto the fabric, using each one two to three times before reapplying dye and redrawing the circles. When I get home, I'm going to wash and set the work so far and then bath dye the whole piece so I don't have to fight the background. To me, right now, the white background feels like a mistake. I might also use some fiber etch to remove some of the rayon pile, but we'll see.

Of course, The last thing I did before cleaning up, was one last "table scraps" print (below...more green). For this, I just threw spoonfuls of dye right onto the fabric along with a few blobs of clear print paste and then just scraped it across filling the yard.
The final steps are time consuming but critical. All of the rinses use synthropol (a special detergent that suspends the run-off dye in the water, keeping it from back-washing onto the fabric). The first cold water rinse soaks for 15 minutes; then a fresh clean bucket of water for a second, and then third rinse for 15-30 minutes each. After the final cold water rinse, the water running off the fabric should be pretty clear. Then, using the hottest tap water possible, two more rinses for 30 minutes each. After that, it is machine washed using hot water and dried in the dyer. At this point, all of the residue is gone and the fabric is soft again. To truly finish it off, it needs to wash through a "sanitizing" cycle in the machine, or in a heated dye vat to really seal in all the dye and make sure it doesn't run off in future laundry. I'll post all the finished pieces later this month once they have all been washed and ironed.
This has been a wonderful week, led by an energetic and creative teacher. The folks at ProChemical are great hosts and I recommend their workshops to anyone who is interested. Special thanks to SMTD, ArtsEngine, and MCube for funding this expedition!


Comments